{Filofax Friday} New Goodies and Yet Another Addition

Happy Friday everyone!

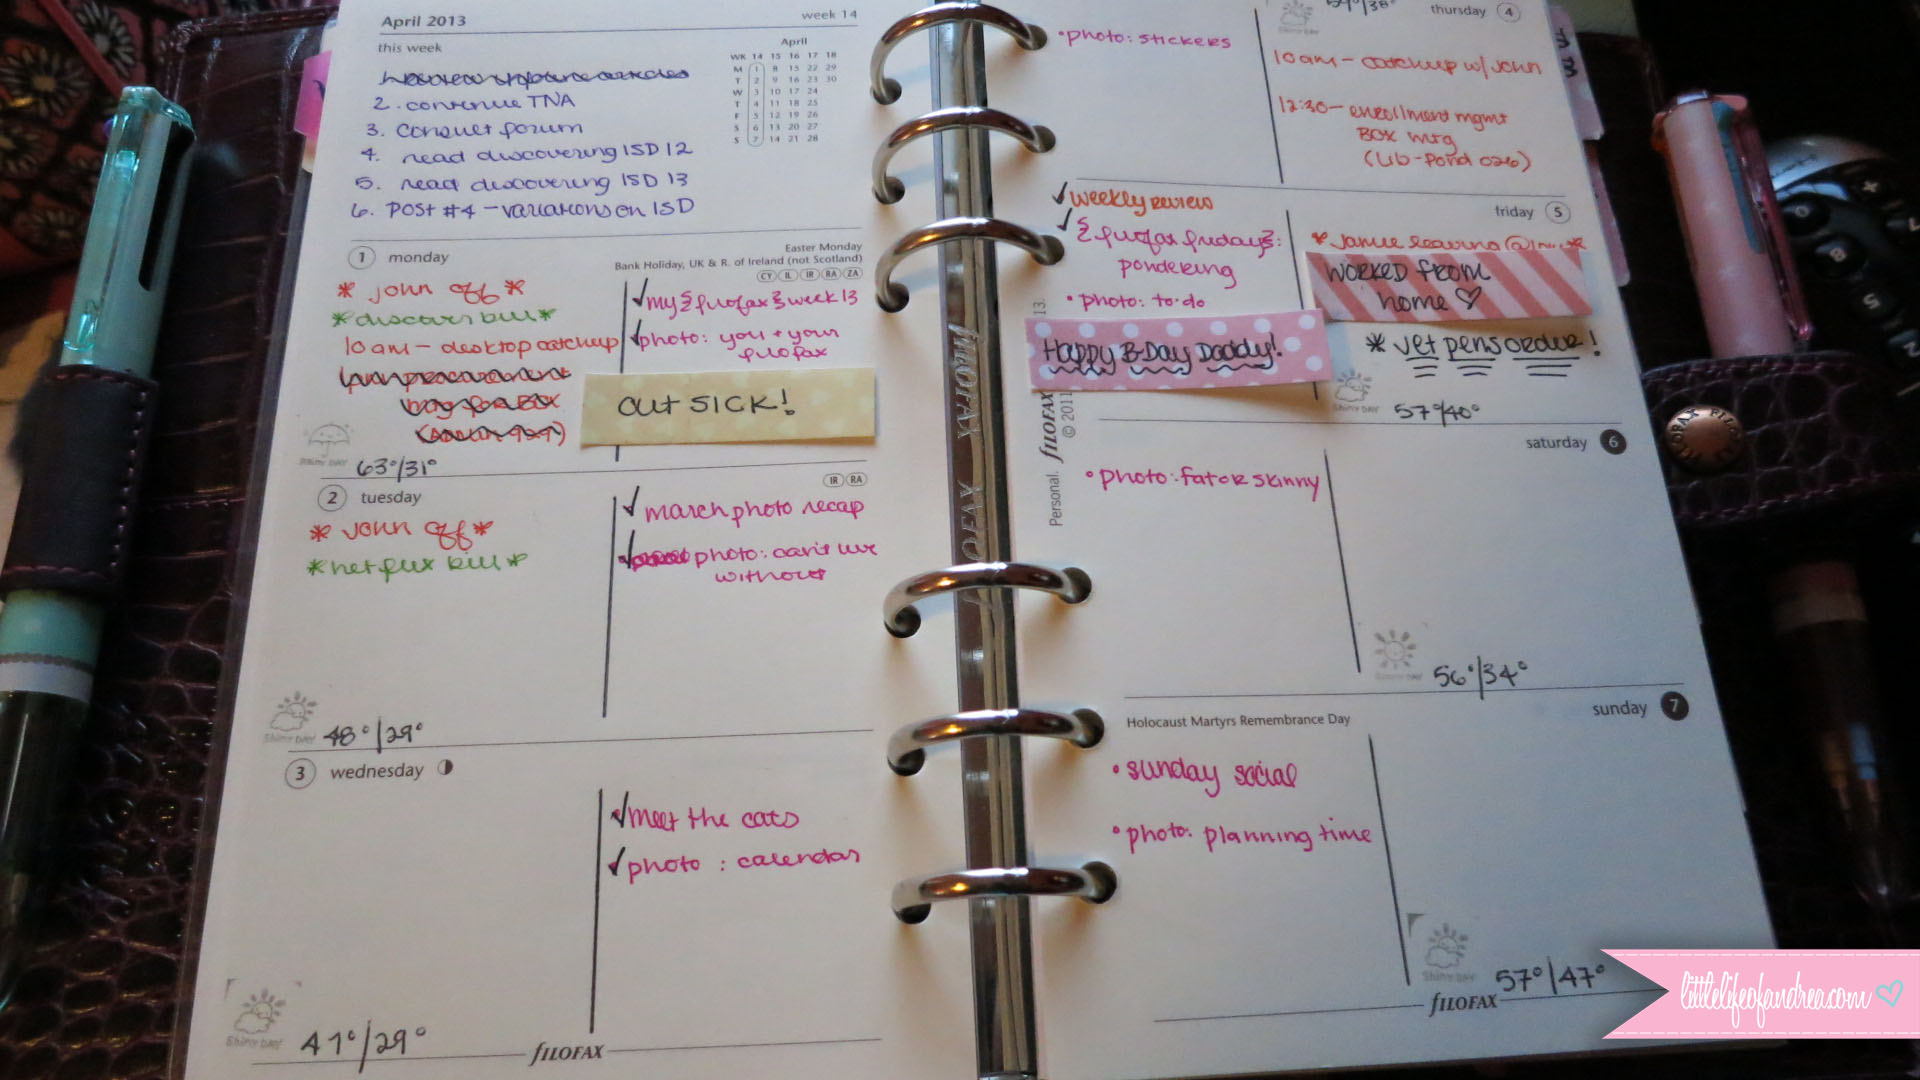
Since I’ve gotten back into Filofaxing lately, I decided it was time to do a Filofax Friday post again. I’ve managed to get some fun goodies over the past month or two, so I’m going to share them all with you today. It’s a long list, and while I fully admit I have a shopping addiction, this haul was bought over the past two months, so it isn’t too bad… right?

IMG_2451

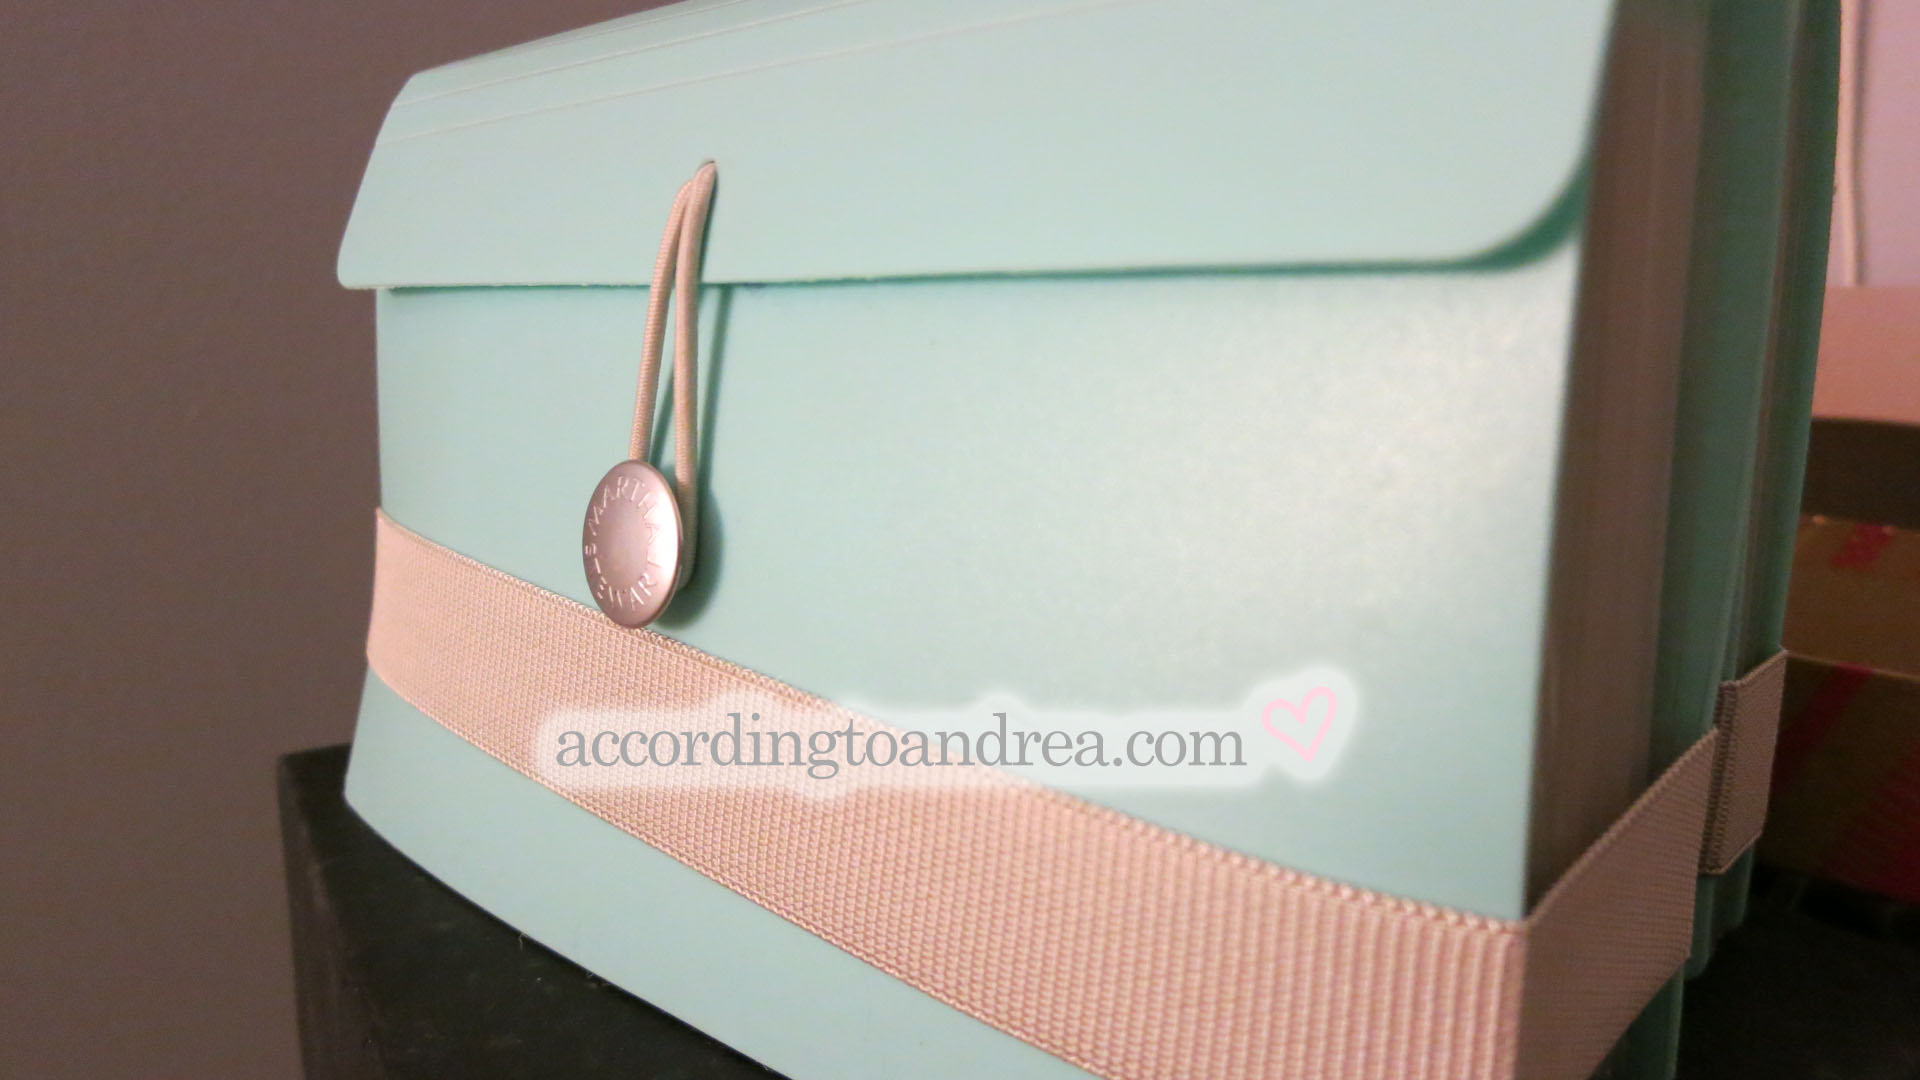
First up, I picked up two of the Martha Stewart expanding files from Staples. Adam from Adamsfilo on YouTube had shown how he used them to organize his inserts, and had been wanting to get something similar even before seeing his videos. The fact that the aqua color in the Martha Stewart line matches my room’s new color scheme had me sold. I picked up two, but truthfully, I could have used more. Now my unused Filofaxes can go back in their boxes, and my inserts are a bit more organized.

IMG_2454

I also picked up some goodies from Michaels. I finally bought some of the stickers that were prepunched to fit in personal sized binders, some stamp ink pads, some fun pen-style ink pads from K & Company (perfect for stamping on the go…), and some other fun bits and bobs. In the picture above the closest ink colors look to be purple, orange, and gold. The colors are actually pink, orange, and yellow. There’s a bit of a shadow in the picture, but the labels on the inks are also really off, so it’s not just my camera. Figured I’d point that out in case you’re interested in picking them up.

IMG_2457 copy

When I saw Nadine’s video on the new StudioL2E Plan It stamps, I had to have them. They arrived about a week ago, and I can say that I adore them already. They are going to get so much use it’s not even funny.

IMG_2461

Now on to the Amazon goodies. I ordered some stamping blocks for my stamps. I also ordered some stickers and flags, and one of the Cosmos Passport Organizers everyone seems to be toting around with their Filos. You can see them all above.

jetpens

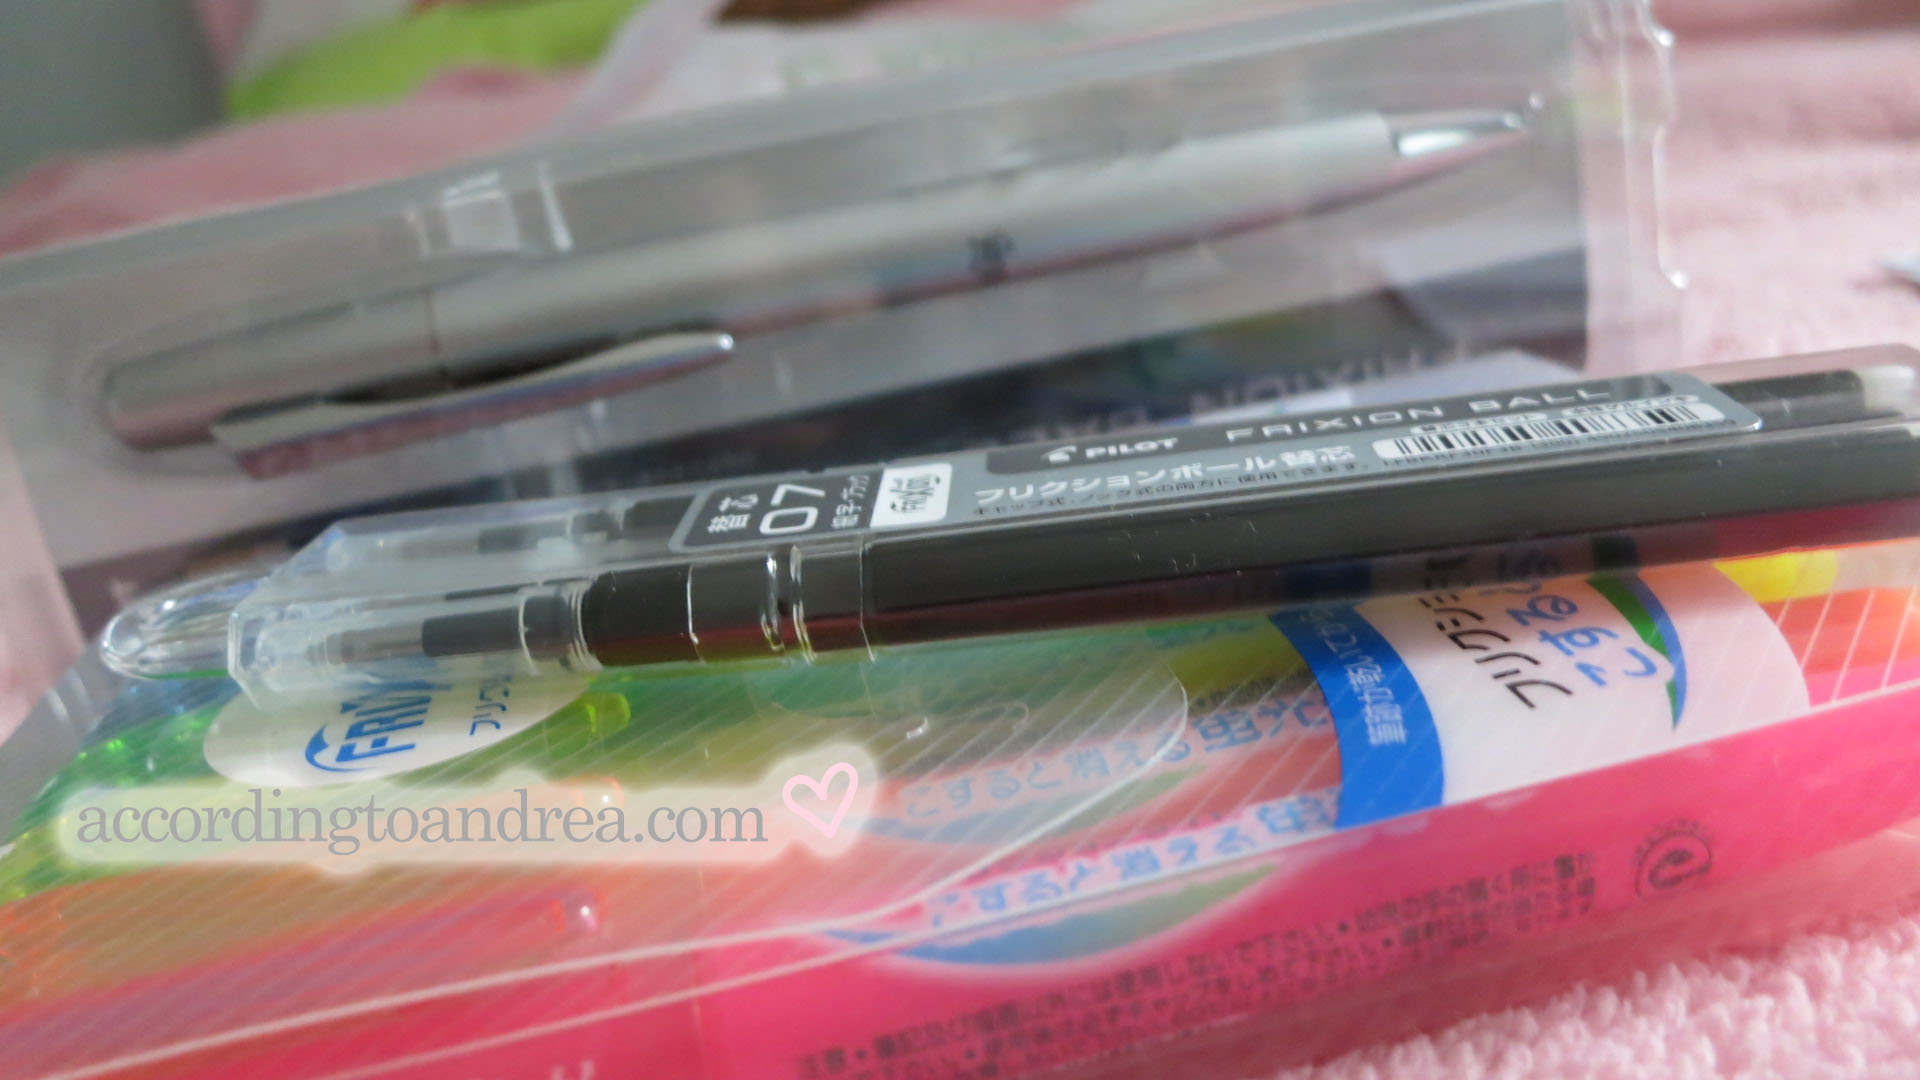
Next up are some fun things from JetPens. My Frixion highlighters were running dry so I ordered a new set along with a snazzy Frixion retractable pen and some black refills. Earlier in the month, before I decided to go back to black pens and highlighters, I had also picked up a complete set of retractable Frixions pens, and the Frixion markers in all the lovely colors as well. I may not have needed so many, but I fully stand by the statement that you can never have too many Frixions, and I’m sure I’ll find a use for them.

swarovski

While we’re on the subject of pens, I ordered a Swarovski pen off of Ebay. I have no idea whether or not this pen is a real Swarovski pen, but it’s still gorgeous. It adds just the right amount of sparkle to my Osterley, and it writes nicely.

Almost done… I promise. I just couldn’t help myself with these last two purchases.

Lifeiscrafted

I ended up ordering the Life is Crafted Wo2P inserts for Personal size. They were pricey which is why I kept putting it off, but I kept coming back to them. I can say they were totally worth it. I honestly squealed with excitement as I opened the package. Arienne sent them along with some lovely extras like things from Kikki.K which we don’t have here in the US, a funny little post card, and even a cute handwritten note! The inserts are adorable as I had expected. My poor Osterley is a bit stuffed now, but by far, my favorite part has to be the dividers for the months. They put any other dividers I’ve ever seen to shame in terms of quality and design. I’m so happy I got them.

And last but not least… the unexpected addition.

I have quite a few saved searches on Ebay for random binders I’m on the look out for. You know for the ones that are discontinued, you can’t find anywhere, and you’re just patiently waiting for someone to decide to sell theirs… For me, one of those was a personal ochre Malden. I’m not sure if anyone else noticed, but the supply of ochre Maldens for some reason just exploded on Ebay quite recently.  Of course, I didn’t jump on any until I realized the only one left was starting at $120 or Buy It Now for $156 PLUS shipping! Crazy!

Of course the little voice in my head started saying “STUPID! YOU WAITED TOO LONG!” and then, like I did with my Osterley, I went to Google frantically searching away. I found one at Pen Boutique thankfully not for $156+shipping but for $79 with an additional $5 discount and free shipping. Into my cart it went, and I’m awaiting it’s arrival.

And that’s not all… For years, I’ve been ordering my Filofaxes online, thinking there weren’t any local retailers around me. I know you can check on the Filofax site, but I just never bothered because there really aren’t any boutique-like stationary places just big chains like Staples. So imagine my surprise when I realized the place I ordered it from was actually 9 miles… NINE!!!… away from my house! I checked Filofax’s site and it turns out I have not one but TWO retailers within 9 miles of my house! My mom’s response was, “Now you can buy all the Filofax supplies in the world!” I’m not sure whether she was being sarcastic or what, but as much as I’d love to be able to, I’m not sure my wallet would enjoy it, nor would my closets.

Anyway, I hope you enjoyed my haul. Let me know if you have any questions.

Signature

{Filofax Friday} The Latest Addition to the Family

I wasn’t planning on buying another Filofax. Then again, I don’t know many people that do actually plan to buy a Filofax. They just seem to jump into your cart and appear at your door a couple days later.

I own a personal-sized Osterley in Plum already, and while I’m not crazy about the layout on the inside, I do love the 2 pen loops and I also love the look which is a shock in itself. When they first came out, I hated them. I actually said, that’s one line I will never buy… {I guess I was wrong.} I’m not sure what it is about it, it just makes me feel fancy. And for anyone who thinks they look a bit hard and not nice to touch at all, they are just lovely and oh so smooth.

Anyway, the grey Osterley had been calling my name. It kept popping up in videos, and all I could think was “Grey is one of my favorite colors and I love my plum Osterley, so I’ll have to get one one day.”

Well it just so happened that one day I decided to just look at them on Pens & Leather. I was just planning on checking out the prices, factoring in any discounts… you know the whole deal. So on to the site I went, and on the grey Osterley’s page, I saw two words, “SOLD OUT.” Then I saw “DISCONTINUED.”

I basically went into full on panic mode. {Yes, I realize that seems crazy.} Here I was wanting one, and I was too late. Filofax was sold out. Amazon didn’t have them either. There weren’t any on Ebay. I turned to Google Shopping and found them still available at Goldspot. Into my cart one went, and without thinking twice, it was ordered and on it’s way to my house.

I’m happy to say, it has arrived without any damage. The rings are perfect, and I can sleep a little bit easier knowing I didn’t let my Osterley get away.

So without further ado, I introduce to you, my new grey Osterley.

PersonalGreyOsterley

I’m still playing around with the inserts and the set up. I’ve also acquired a few new goodies so I’ll likely be back with an updated set up, and maybe something about all the fun bits and bobs I’ve gotten. The My Week feature may even make a comeback. We shall see.

Until then, thanks for reading. Happy Filofaxing, and have a great weekend!

Signature

{Filofax Friday} Confessions of a Planner-holic

I’ve jinxed myself. I’ve tried really hard to not admit it, but it’s true. In March, I wrote How I Got Out of Planner Fail, and almost immediately I started struggling with using my Filofax. I really regretted writing the post after that. {I should really be reading that post though because I am totally not sticking with it like I said to.} I switched up the weekly pages from the Week per Page with Notes to the cotton cream Week on Two Pages layout which worked better, but I don’t think it solved the underlying problem which is that I haven’t been using my daily pages.

Week 9 Filofax

Week-17

I think I haven’t been using them for a few reasons. I almost always have Google Calendar open to the weekly view at work. I’ve grown to like seeing the days events displayed chronologically rather than as a list so that I can see the breaks and such. Now I know I can do this on my daily pages as they are, but then I’m forcing my to-dos into one column which just doesn’t work because of my writing. I could schedule to-dos into the time slots, but I’d feel too restricted. I could give up writing the tasks over and over again into my planner and just keep them in Things like I’ve been doing for the past month, but April was utter chaos for me, so that’s not happening.

In an effort to really stick to my 1 Planner for 2013 rule, I finally got washi tape to try and keep my motivated to use my Filofax. I spent nearly $100 dollars between two or three shops on Etsy (with/free shipping). Will it make my Filofax prettier? You bet. Will it actually work to keep me using the Filofax? I have no idea. In any event, my weekly posts will be more colorful at least.

Something interesting is in store for next month though, and I’m impatiently waiting to share it, but that’s for a later post. 🙂

Signature

{Filofax Friday} The Beginning of an End

If any of you are regular readers of this blog, you likely stumbled here from something Filofax related (either a blog or searching.) It makes sense. Up until now, a lot of what I had been writing about was centered around my gorgeous Osterley in wine. (A grey one may or may not be in my future…) In any event, all good things must come to an end, and as shocking as it sounds, I’ve run out of Filofax things to post to be able to keep {Filofax Fridays} a weekly feature.  I want to provide content that’s worth reading, and while I’m sure I could find things to write about, I want to write about things because I want to, not out of obligation. Frankly, my life just doesn’t revolve around Filofaxes {at least not entirely} enough to be able to post weekly.

Starting this week {or last week rather since I missed it last week…}, {Filofax Friday} will no longer be a weekly post. I will try to post bi-weekly, but I can’t make any guarantees. On the week’s that aren’t Filofax-related, you may find a review or something I try to post monthly like how badly I fail at daily photo challenges, monthly goals, etc. in it’s place. My hope is that by moving these monthly posts out of my usual Wednesday slot, I can get some updates as to what’s really going on in my life like this room remodel I’ve been talking so much about but haven’t gotten around to actually posting about.

I hope I don’t lose you guys as readers in making this change, but I feel as if as this blog evolves, this just feels right.

Signature


{Filofax Friday} Updates

It’s Friday! That means a Filofax post. This week, I’m giving some quick updates on how the changes in my Filofax are going.

week-14-filofax

I mentioned in my most recent “Week” post that I was experimenting with the Cotton Cream Wo2P inserts this week. I’m happy to say that I think they are here to stay. I love the space, and I feel like I can be a bit more creative. I just wish Filofax would start making the rest of my inserts in Cotton Cream so that my OCD wasn’t bugging me.

But…

That’s not the only thing that’s changed. I did go ahead and swap out my Month per page plus Notes inserts for the Month on 2 Pages even though I said I wasn’t going to. Admittedly, I’m not using them much right now, but I didn’t use my Month per page ones either. The big difference is that it involved switching up the layout a bit to have all the monthly pages together rather than interspersed in the weekly pages. So far it’s not too big of a difference since I didn’t use them much anyway.

My most favorite additions though are two new Coletos. I happened to be browsing Jet Pens the other day and noticed a whole bunch of new Coleto bodies on there. I’ve been seeing some others pop up in some photos on Flickr as well. Now I love my Black 5-barrel Coleto, but it does have a bit of a cheap look to it. I’ve been keeping my eye open for new Coletos that looked a bit nicer. These two 3-barrel ones from the Sweet line (pictured & linked below) found their way into my cart first. They arrived quite quickly as always, and I adore them, so much so, I’ve decided I want the 4-color barrels instead so they are on their way to me now along with the other two colors blue and peach as well. I mean how cute are they!? It’s hard to see from the pictures, but the mint green one has asterisk-like symbols on it. The pink one has little bows.  They all have a little dotted silver band where the pattern ends.

Rounding out my changes was switching from .4mm refills to .5mm. I have tried all of the sizes now. My overall opinion was that .3mm was too scratchy; .4mm was alright, but .5mm makes my writing look much better. Having said that, the .5mm black refill I have is scratchier than the other colors. Given that I had to fill my cart up to $25 to not pay $7 for shipping, I added some colors to try out: Baby pink, Apricot Orange, and Brown. The current set of colors I’m using is:

  • Apricot Orange – for work
  • Baby Pink – Anything involving other people
  • Clear Blue – Anything involving just me
  • Apple Green – Financial
  • Violet – for school
  • and Black of course for everything else.

If you haven’t tried a Coleto pen, definitely check them out. They are by far my favorite. I ditched my Frixions for them, and they make having one pen loop in a Filofax a bit more bearable (provided it’s elasticized).

That’s it for the update!

Signature


{Filofax Friday} Pondering Change

Reading some of my recent posts, some of you may have caught on that I’ve been neglecting my Osterley lately. I’ve found that when things in my life get hectic, the smart thing to do would be to rely heavily on my planner, but I do just the opposite which only makes matters worse. My life isn’t terribly hectic, but not using a planner makes me feel like it is, and when it gets hectic, I want to use my planner even less, so I was in a bit of a catch 22, and I had to do something about it.

This week I started my first experiment by swapping my Week on a Page plus notes inserts for the spare Week on 2 Pages cotton cream inserts I had gotten with my Osterley. Keeping in mind my commitment to not buy any more planners in 2013, I wouldn’t be doing this if I didn’t have them on hand already.

Now I’m going to throw out a bit of a disclaimer here. I realize I just wrote a post on how I got out of planner fail, and to some of you it may seem like I am in planner fail now that I’m considering change. I don’t necessarily consider this planner fail though. Normally I’d be out buying 20 more planners right now, but I’m actually still keeping the same system – my monthly overview, a weekly spread for forward planning, and daily pages for planning out my day. I know it works for me and there’s no need to change it nor do I want to, and again, I’m not buying anything additional. I had the inserts already.

Anyway, I have been increasingly bothered by Filofax’s silly idea to cram five languages and foreign holidays onto a week per page diary. I mean they sell inserts specially made for most countries already printed in the correct language, so is there really still a need to print all 5 languages? Can’t we at least get a 1 language version because I really don’t need to know how to say my days of the week in other languages, and I don’t want to have to rig a set up of Week per page with note paper in between. I like having the week on the same side. If the languages weren’t enough, they have to print all the other countries’ holidays too. I mean they are interesting to know, but not something I need to be reminded of in my planner. I’d be fine without them. *end of rant*

Looking at my weekly pages, some days I just had NO room for my appointments because of all the languages and holidays. I always had room on my notes pages though, so I figured maybe I didn’t really need a full page to write my graduate assignments on. The cotton cream Wo2P diary has a notes section at the top so I’m going to test them out for a few weeks. When I had originally got them in my Osterley, I didn’t use them purely because I have OCD and all my other diary pages weren’t in cotton cream which bothered me a lot more than I’d like to admit. I really wish Filofax made the other diary inserts in cotton cream as well just so there was consistency in my planner, but I’ve found with Filofax it’s more wish in one hand and… {you know the rest…}

Another change I’m considering is swapping out the Month per page for the Month on 2 page insert I have on hand. I bought both of them at the beginning of this year knowing that I may want to swap them at some point. But that’s a little bit more change than I’m willing to take on right now. One thing at a time…

Signature

{Filofax Friday} What’s on my Wishlist

Let’s be honest here. I really don’t need any more Filofaxes. I don’t like having things if I don’t have a place to put them, and I really don’t have the room for more. Some people in the Filofax community seem to have a new binder every other week, and it makes me cringe a bit. No offense to you if you are like that. We all have our things we indulge in. Mine just happens to be makeup products and tech gadgets not Filofaxes.

So what’s actually on my wish list?

I mentioned in my Malden post, that I’m on the look out for two in particular:

  • An ochre personal Malden
  • A vintage pink personal Malden

But there are a few others I wouldn’t mind having either:

  • The new aqua personal Malden
  • A personal Holborn in Wine
  • A black or almond personal Amazona
  • An ebony or ivory personal Deco
  • and of course a teal or vintage rose Finchley

Just browsing Pens and Leather and seeing the placeholders for new lines as I was writing this post was pretty exciting. I do hope there’s something in new line that I like. Of course as much as I’d like to have any of the binders above, do I really need them? No. My Osterley is just the way I like it, and I did commit to one planner in 2013 {or at least not buying any new ones}. In a world where money {and space for that matter} was no object, I’d love to have them all, but I have to keep my priorities in line, and another Filofax isn’t one of them right now.

Signature

{Filofax Friday} The Tour – Part 3

Welcome back everyone for the 3rd part of my Filofax Tour. Check out the first and second parts if you missed them. This week it’s all about my To Do section and how I use my daily pages within the section to keep myself from going crazy every day.

I’m going to give a bit of a backstory first to let you guys know how I arrived at this lovely set up which works incredibly well for me, so bear with me. {Feel free to skip down further to the Daily Page part, if you aren’t concerned with the history.}

Moleskine

I used to be a Moleskine user years ago before I stumbled upon Filofax. There was something about the artsy, adorable planner pictures on Flickr that made me fall in love, and before I knew it, I bought one, and the popular TriPlus Fineliners to go with them. My Moleskine planner was awesome until I found Filofax.

This Week on 2 Pages

I started off with a pink personal Domino, and after using it for a while, I agreed to let myself upgrade to a grey personal Malden. Everything was going smoothly until I decided the personal size was too big. At the time, I was only using it to hold a Wo2P calendar, so it was always fairly empty. I bought a pocket-sized Malden, but I immediately decided was too small. {I swear they look larger online.} At that point, a Moleskine seemed like a great option again, so back to Moleskine it was. This time I bought a Week Plus Notes planner AND the Color a Month daily set. Any due dates went into the Monthly/Weekly Moleskine, and I tucked the Color a Month planner for that month into the week to write my daily to do list.

So that’s how I ended up with my set up, but how did I end up back in a Filofax…

I had moved into my Moleskine because the personal sized Filofax was too big. The pocket size was too small. In theory, the Moleskine should have been just right {this story is beginning to sound like Goldilocks and the 3 Bears}. BUT… thanks to some enabling from the Filofax community, I saw organizedlikejen‘s Filofax videos, and then audreyswifelife’s video, I decided having projects and goals in life was something I needed to start doing. Of course my Moleskine had no place for any of that, and I ordered an A5 Domino in Deep Pink that came with atrocious rings which many of you will probably have seen on Flickr. I returned it and got an A5 Malden in grey instead.
A5 Domino Rings :(
{Admittedly I’m simplifying this a bit. There was an Erin Condren planner thrown in there for a period of time as well, but it sadly didn’t last.}

I ended up getting a Week per page with notes for my A5 along with the Month per View inserts. I continued sticking my Color a Month page into the planner as I had with the Moleskine. As luck would have it, it worked, but as everyone knows, A5’s are HEAVY, so the quest for the perfect planner wasn’t over, and I started to wonder if I could make the Personal size work again now that I had more than a calendar to put in it. Sadly when I went back to my Malden, the rings weren’t so fantastic. {Teaser: Stay tuned for the Malden Saga next week.} I requested a replacement, but also bought myself a Personal Osterley for Christmas which I can say has worked perfectly and is how I arrived with this set up.

My To Do Section

The day I realized I could use a daily planner as a to do list rather than a typical planner for events was a great discovery for me. I tried every time of time management system around. I tried the time blocking method and tried scheduling my tasks too, but I don’t like having my days scheduled completely. Having everything scheduled drives me crazy. I do however like to have a daily to do list. Even if I don’t do them all or any of them, at least I have a plan and an idea of what I could do.

The way I use my daily pages isn’t how Filofax or Moleskine set them up. I really do ignore the formatting and I’ve done this ever since I started using the Color a Month Moleskine books. I’ve considered just using lined paper, but I’m lazy and don’t want to write the days.

DailyPage

At the very top, I put any all day things like bills, the forecast, what I wore, or general reminders (like a coworker being off). The first line (8am) marks where I put any meetings or events for the day. Starting at around the 1oam mark, I start writing my to do list. Of course, as with everything in my planner, it’s all color coded.

I check off anything I accomplish with black pen thats a bit thicker than my Coleto so that it stands out. If I didn’t accomplish a task but I still want to do it, I put an arrow through it to indicate it’s been moved forward. Tasks I no longer need to do but didn’t accomplish or events that I didn’t attend get crossed out with a wavy line. Lastly, I’ve just started indicating that a task has already been moved forward with an arrow in front of the checkbox because I tend to  move tasks from day to day and some seem to never get done. {For instance, I’m fairly pale so I try to use some sort of self tanner so that I don’t look ill, but I think it’s been moved forward each day for about 2 weeks now because applying self tanner is messy and also quite cold during the winter.}

Whew! That was a long post. I hope you enjoyed the final part of my tour. Have a great weekend!

Signature

{Filofax Friday} The Tour – Part 2

Welcome back for the second part of the tour of my Filofax. If you missed the first part, be sure to check it out here. I’m excited to share this with you because I feel like I’ve finally found a set up that works for me. This week is all about my “Diary” section where I use both monthly and weekly pages for forward planning.

{By the way… *shameless pitch*… please vote for my product idea currently posted to Quirky.}

What I’m using in this section:

I’ve always hated that Filofax insists on printing the Month on Two Page inserts back to back. This year, I started using the Month per page inserts because they allow me to put the monthly pages into the weekly pages. That’s the awesome part. The not so awesome part is that the blocks are small {REALLY SMALL!}. I also don’t particularly like how Saturday and Sunday share a column, but it’s a small price to pay to have the layout I want. I’ve considered switching back to Month on Two pages, but I only use my monthly pages as an overview so it’s not a terribly big deal. The backs of each month are a blank Notes page, so I try to write down any thing that’s kind of a big deal – goals, big events, projects, things I need to do for the month, etc.

I do color code throughout my planner, using my Hi-Tec-C Coleto:

  • Orange – anything work related
  • Green – anything money related
  • Blue – any personal things that don’t involve other people
  • Pink – any personal things that do involve other people
  • Purple – anything graduate school related
  • And I use black to check off  or cross out items or to write any general things that don’t fit into a category like days I’m sick.

February Month Per Page
On my monthly inserts I try to write out any meetings, big social outings, birthday reminders {a B with a circle around it}, bills, when my timesheets are due, and of course paydays. I also like to note when I miss work so that I can see it easily when filling out my timesheets. My monthly view is just an overview, and I generally don’t look at it all that frequently, but I do like to have it. I have a large desk calendar in my office from PaperSource that I can’t avoid looking at because of it’s size. My Osterley is usually sitting on top of it anyway, so I don’t have much of a need to look at my monthly pages unless I’m out and about.

I put every monthly page in front of that month’s tab, so it’s a nice way to see an overview and I can use the tabs to find each month. I use a flyleaf over top of the current month. My flyleaves are always full of static, but it works here because the monthly page sticks to the flyleaf and it’s super easy to find the month, see the month, and flip the page over to see any notes I’ve written.

In between the monthly tabs, I’ve stuck the week per page with notes inserts in for each month. It works great with the exception of the very last week before the tab. Because I put the monthly pages and tabs in, the notes page ends up separated from the week, so I’ve just added a lined sheet in for those weeks. Having the lined sheet gives me the back side of the page to review my month {if I actually find the time to do it}.

Filofax Week 8

My weekly pages consist of mainly the same information as my monthly pages, but I add a bit more detail. For example, I include the times of any meetings I have, social commitments, and the names of who’s birthday it is so I know who to wish a happy birthday. {One of my goals for the year is to remember birthdays.} I also write the bills, paydays, and timesheet information. I’ve started trying to write the prompts for my photo challenges too.

The notes page has my weekly list of assignments for graduate school. All my assignments are due by Sunday at midnight, so there’s no particular day I have to do them during the week which is why I prefer the week per page with notes layout. I do try and schedule my assignments into my daily to do lists, but to be honest, I usually just wait until the end of the week to do them. I also throw in any goals or project related tasks I would like to accomplish during the week. I mark the current week with a transparent Today ruler. If you’re wondering what I did to make the top and bottom pink, I just stuck some pink page markers from the Filofax sticky note accessory to the back side of the ruler at the top and bottom and trimmed off the excess.

So that is my diary section. I hope you enjoy reading about it. Maybe I gave you some tips to help with your own planner. Check back next week if you’re interested in how I set up my To Do section.

How do you use your monthly or weekly planners?

Signature

{Filofax Friday} The Tour – Part 1

So for the first part of the {Filofax Friday} posts, I’m going to be doing a tour of my lovely personal size Osterley in Plum. To keep it from being one long picture-heavy snooze-fest, I’m going to break it up into a few parts. This first part will be an overview of the set-up. I’ll go into further detail with how I use my monthly, weekly, and daily {yes, I use all three} inserts in later posts.

Here she is in all her glory. Not too stuffed, but just stuffed enough. I had wanted to name her as I did with my personal Malden{Molly} and pocket Malden {Polly – get it Polly Pocket for any of you who may have played with them…} but honestly what starts with O. So she just stays as Osterley. {Full disclaimer: I reused pictures from the Filofax Photo Challenge because nothing has really changed.}

Filofax Personal Osterley

Filofax Personal Osterley in Plum

In the front pockets I have a set of oddly- sized pink Post-It notes I found one day when I was cleaning out our office. They are slightly smaller than a business card which is perfect for the personal size. I just wish I could find them in stores. I also have my library card {for checking out e-books}, and the Filofax card still for some reason. In the full length pocket, I have a DayRunner zip pocket that has my Masking-It sticky flags, and some sticky to-do lists from Muji. {I’m still trying to get in the habit of using them.}

Day 6 - Pocket

My front page is some gorgeous glittery scrapbook paper which I absolutely love. Here’s a close up of the glittery awesomeness.

Day 16 - Pretty

Behind that, I have my goals tab {a top tab using a sticky tab by Martha Stewart} which has my overall “resolutions” for my life on the front, and more specific goals and projects for 2013 and “2014 and beyond” on the back. {For anyone who hasn’t read any of my other posts about my goals, this is a new addition for 2013.}

Goals Tab

The next section is my Diary tab {nothing special here, just the standard Filofax Diary divider} which has my monthly, weekly, and yearly inserts.

The Diary section is followed by a To-Do tab that holds my daily inserts.

Filofax Tabs

The rest of the sections {decorated with washi tape} are used less frequently are dedicated to areas of my life:

  • Me {for personal projects}
  • Work {for information and work projects}
  • School {for graduate school info}
  • Financial {wishlists and gift ideas}
  • and Misc. {store cards, important numbers, prescription information}.

I may or may not go into further detail on these tabs in a separate post. {If you want me to, let me know.} To be honest, I probably don’t really need all tabs at the back. I actually had to look through and see what I even had in the sections as I was writing this. I just don’t know where else to put the “stuff” and haven’t sat down to figure it out. I may do this soon though.

At the very back in the full length pocket,  I keep another Day Runner zip pocket that has my coupons tucked into it.

One of the best things about the Osterley is it’s two elasticized pen loops. In the front loop I keep a black Bic Atlantis for general things, and the back one holds a Pilot Hi-Tec-C Coleto 5 Color Multi Pen from JetPens for my color coding.
Day 4 - Writing Utensils

That’s it for this week. If any of you are still with me, I hope you enjoyed this glimpse into the set up of my Filofax. Tune in… {Can I say that for a blog? I feel like that’s for TV and radio broadcasts.} Anyway… tune in next week for a peek at how I use my monthly and weekly inserts. You guys may like what I have going on… I’ll give you a hint…  it’s my solution to get monthly inserts and tabs working with weekly pages…

Signature